Nothing too notable no document on this process. However, I am finding the thickness and vents, as well as how heated/cooled the stones/mold are, effects the products. For now, enjoy the pretty.


A Bardic Journey
Nothing too notable no document on this process. However, I am finding the thickness and vents, as well as how heated/cooled the stones/mold are, effects the products. For now, enjoy the pretty.

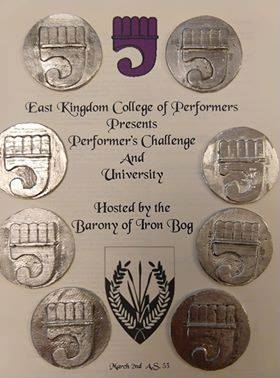
Ageirr and I have been really digging this mold process for making tokens. In no surprise that either of us would keep falling deeper and deeper in love with the process as is our need to craft. We’ve posted up several of our previous molds and processes, but this one, the coronation mold was a whole -giant step- for crafting kind.
I will once again reiterate that this is not a period process and so there is very little on the internet or resources we have readily available to us. However, we’ve been enjoying discovering each part as we go.
Our original process looked like this:
We then started to refine our cleaning processes. We tried out different tips with different shapes and different coarseness/grinding surfaces. We got much further and even discovered how, by hand to get these suckers super shiny.
Once finishing up another set of tokens (of course it was the second we were done) we had an epiphany. Wait a second… why don’t we try to clean the mold up itself. So, we took the dremmel with the pink tips (383g) and gently touched the mold. They looked great! We would figure out the rest of the process later, for now we had a bid to complete 500 tokens for the coronation of King Ozurr and Queen Fortune.
Ageirr and I had never done 2 part molds before, however, for the design we had in mind, we would need to do this.
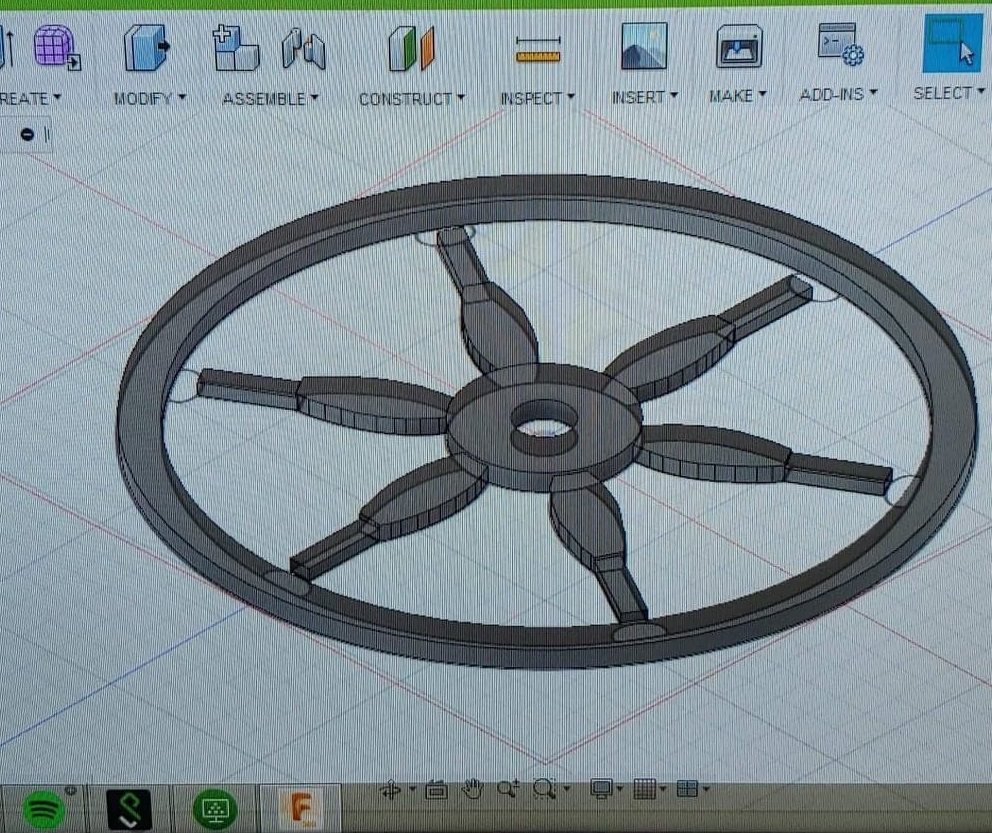
Step 1) 3-d Model the positive.
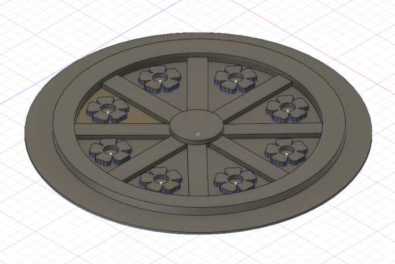

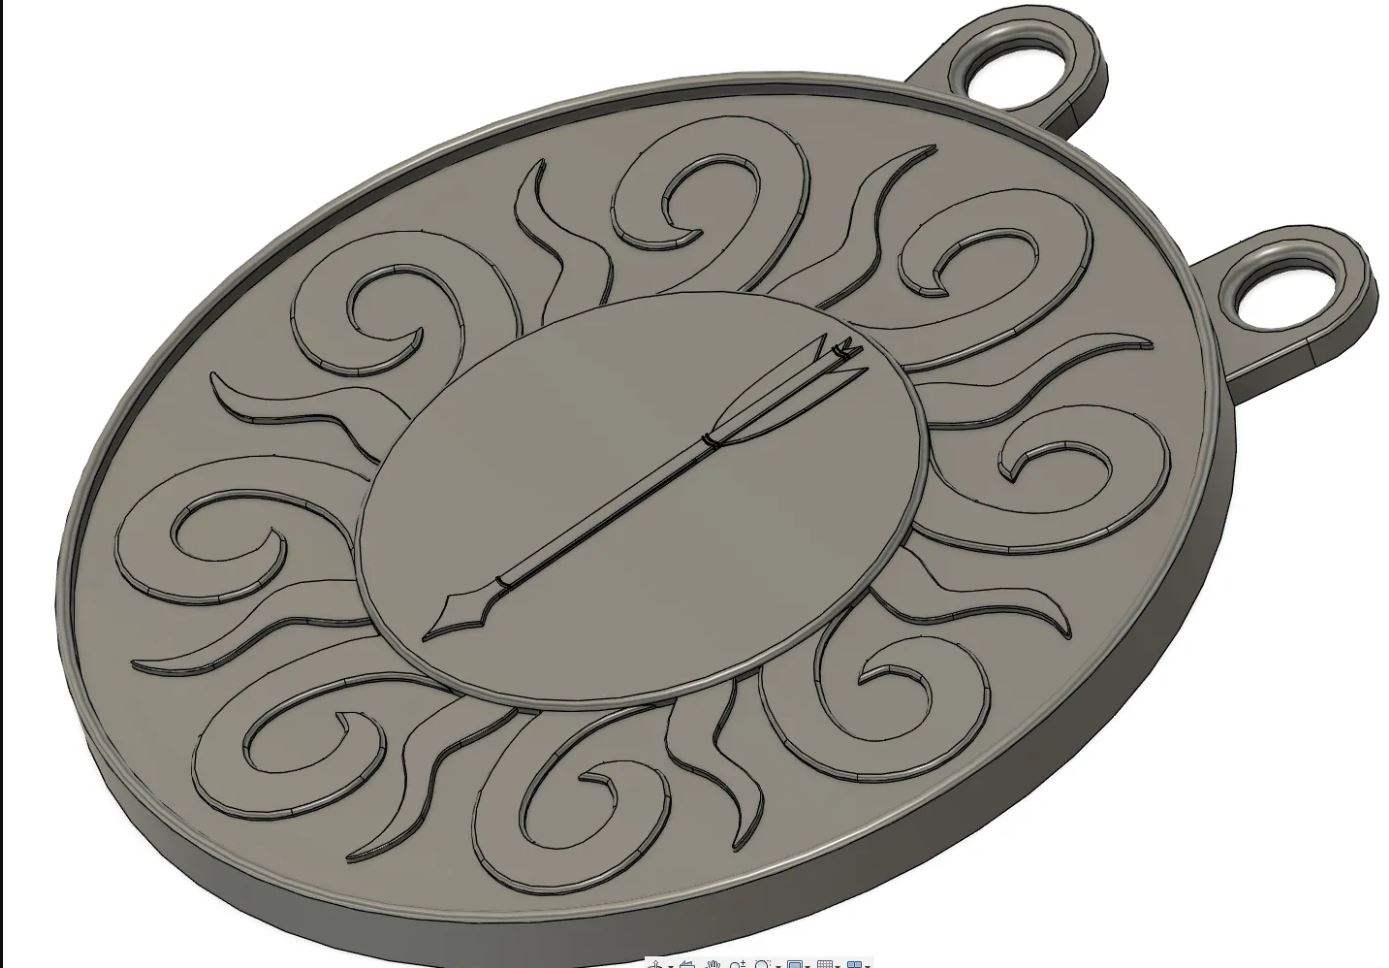
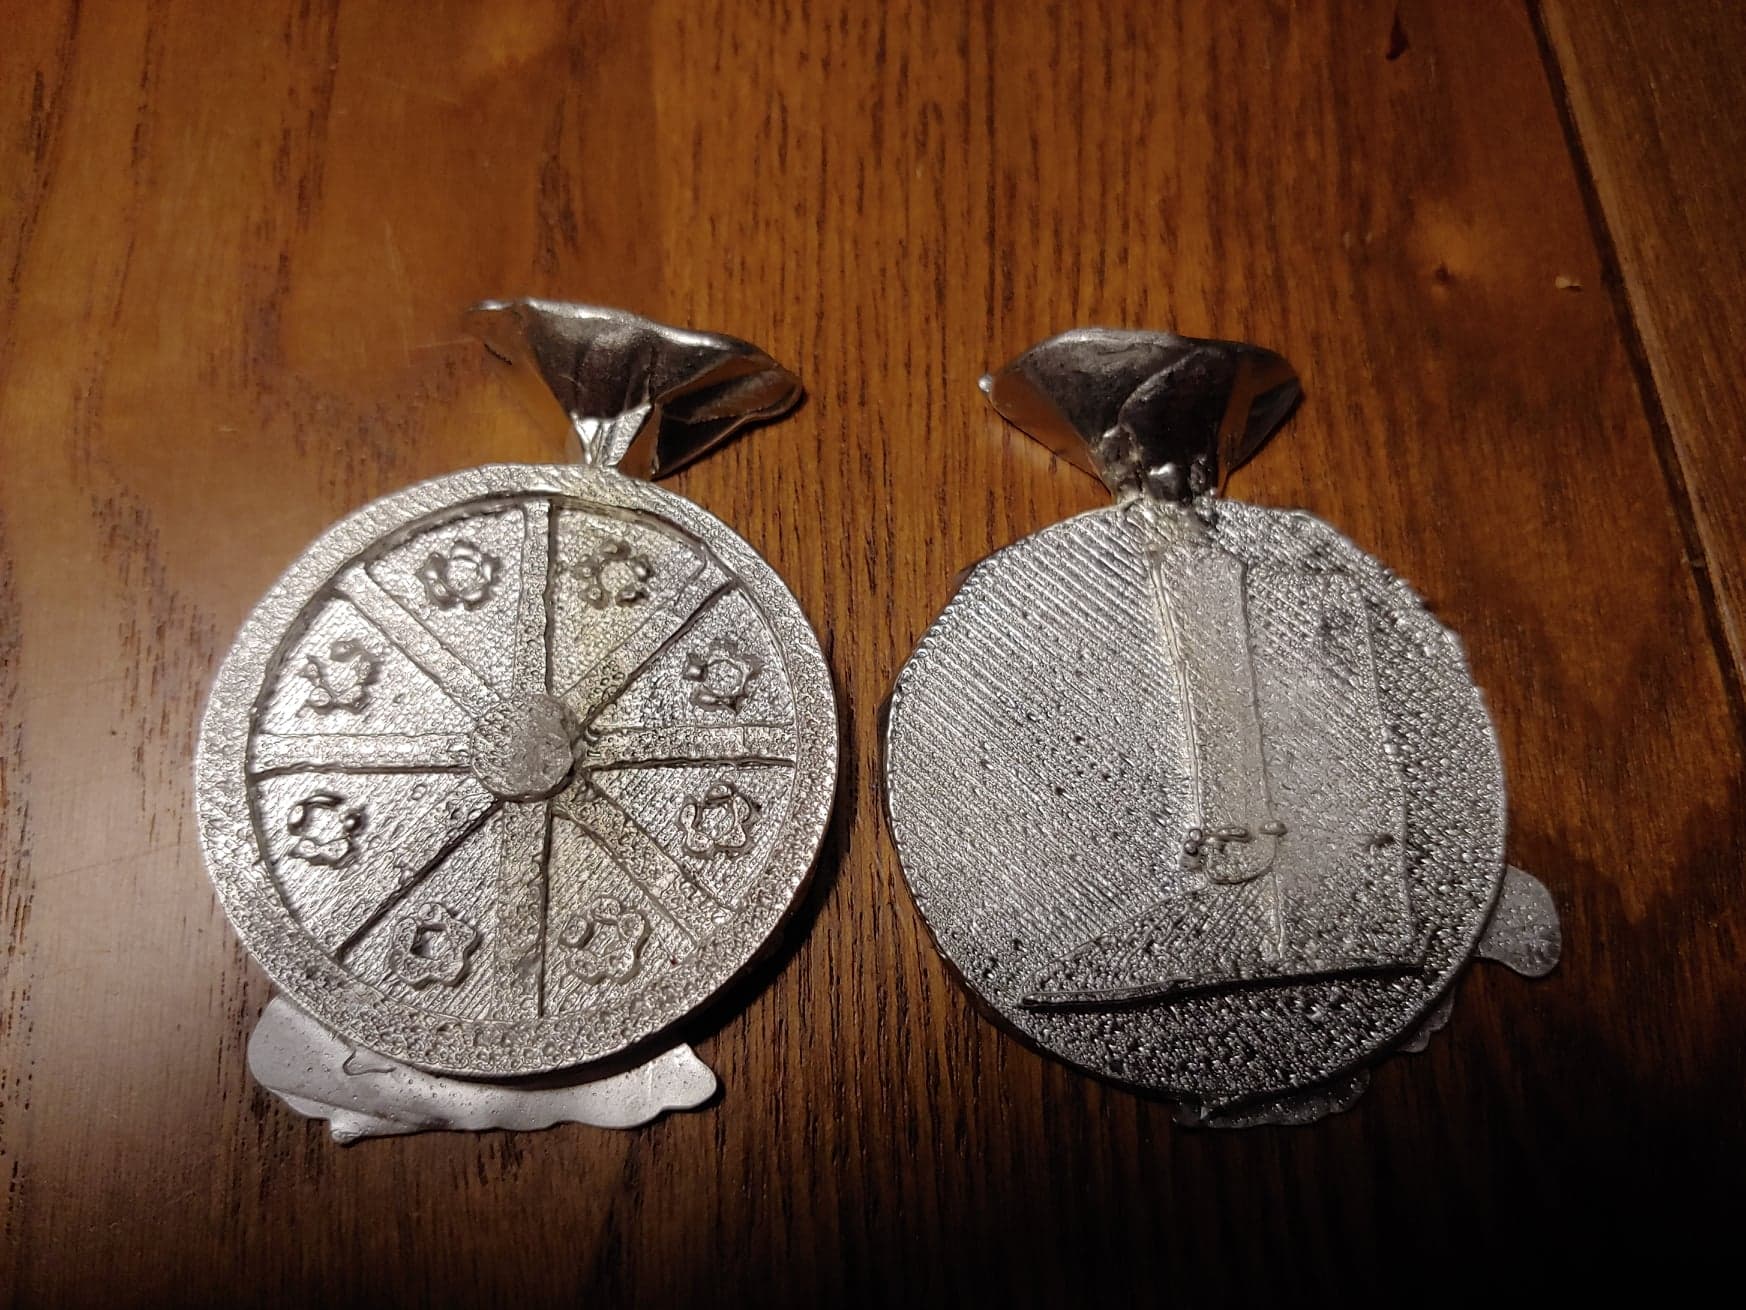
The concept for these was taken directly from Their Majestie’s Heraldry. However, since Fortune’s heraldry ( an 8 spoke wheel) is very close to the 7 spoke wheel award (The Silver wheel) to avoid confusion, we added roses to the mix.
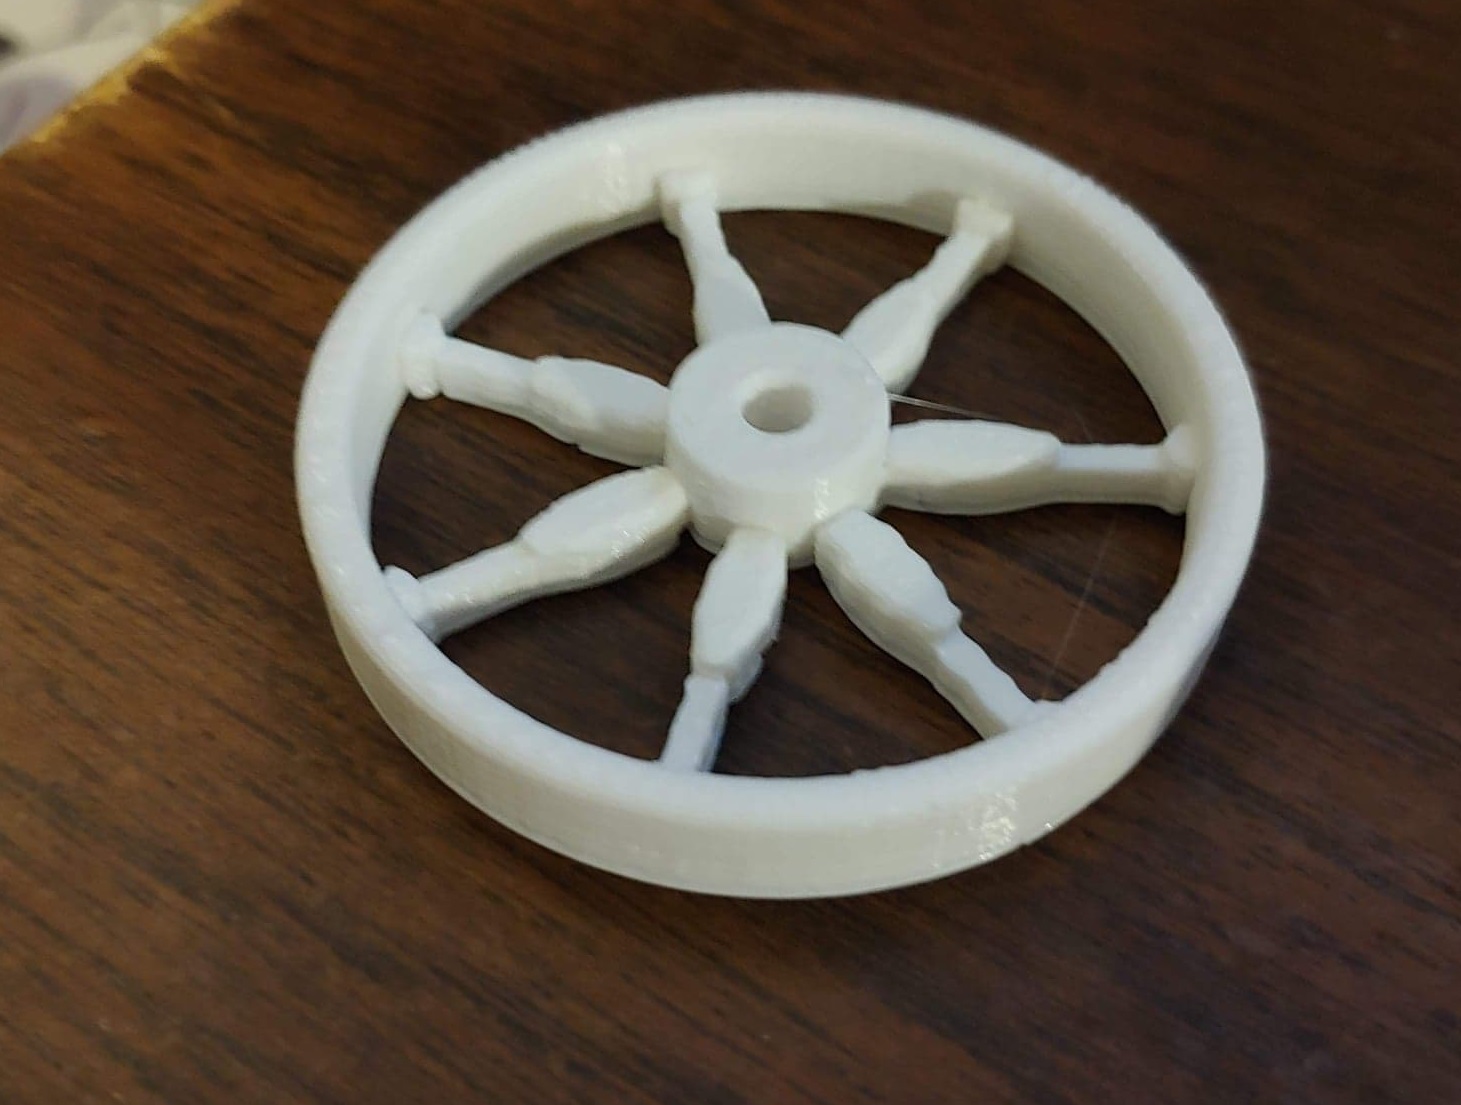
Step 2) Make the positive. This is how they looked coming hot off the printer.

For size reference, these were 1.5 inches in diameter.
Our original next planned step was to cast it, clean it and re-cast it. In theory this should limit our time cleaning tokens.
Step 3/4) Cast

So, as you can see, no pre-sanding done it doesn’t look so pretty. You can see all the layer striations and the roses look like … well… not roses. In addition, after trimming off the flash, we did a weight check on these (as I mentioned before, we needed to make 500). We were also giving a 200 dollar budget for these. We did the math and if we had left the tokens at the same thickness and size, we would have needed 44 pounds of pewter. Pewter is approximately $19.95 a bar right now, so, you do the math.
Ageirr and I started to panic as we would need to re-scale the model and figure out how to take down the thickness.
We live in a 700 sq ft condo on the second floor so we don’t have crazy tools or materials. So, we make due with what we have. So, this time, we tried using sculpey. Ageirr being more patient with sculpting than I am and happened to have some more flexibility in his schedule, sculpted the damn thing from scratch. We printed out the images on paper and used them as layered guides so we could be as precise as possible.
From there, we created the mold again. Part one was done in the same exact way we had done our 1 part molds in the past. The second half we placed the sculpey model into the impression of the first cured mold. We placed saran wrap over it and smoothed it to the model. Finally we poured the silicone.
This resulted in a much smoother mold. We again dremmeled the edges a bit so we had a super flat mold wall that lined up. The sprue was carved and we started to pour.
We noticed that the roses were not coming out cleanly. With some research, it was suggested to use graphite as a release. With that, we not only got the tokens to release better, we got less pock marks on the pours (None to be precise) and that the mold was filling better and all parts were being cast.
Here are the tokens fresh out of the mold with general flash clipped, no cleaning:

Time to clean. Welcome to our bathroom. Our two man team included sanding edges and clearing out the holes. (We weren’t as careful as we could have been, so the pre-made hole broke off).
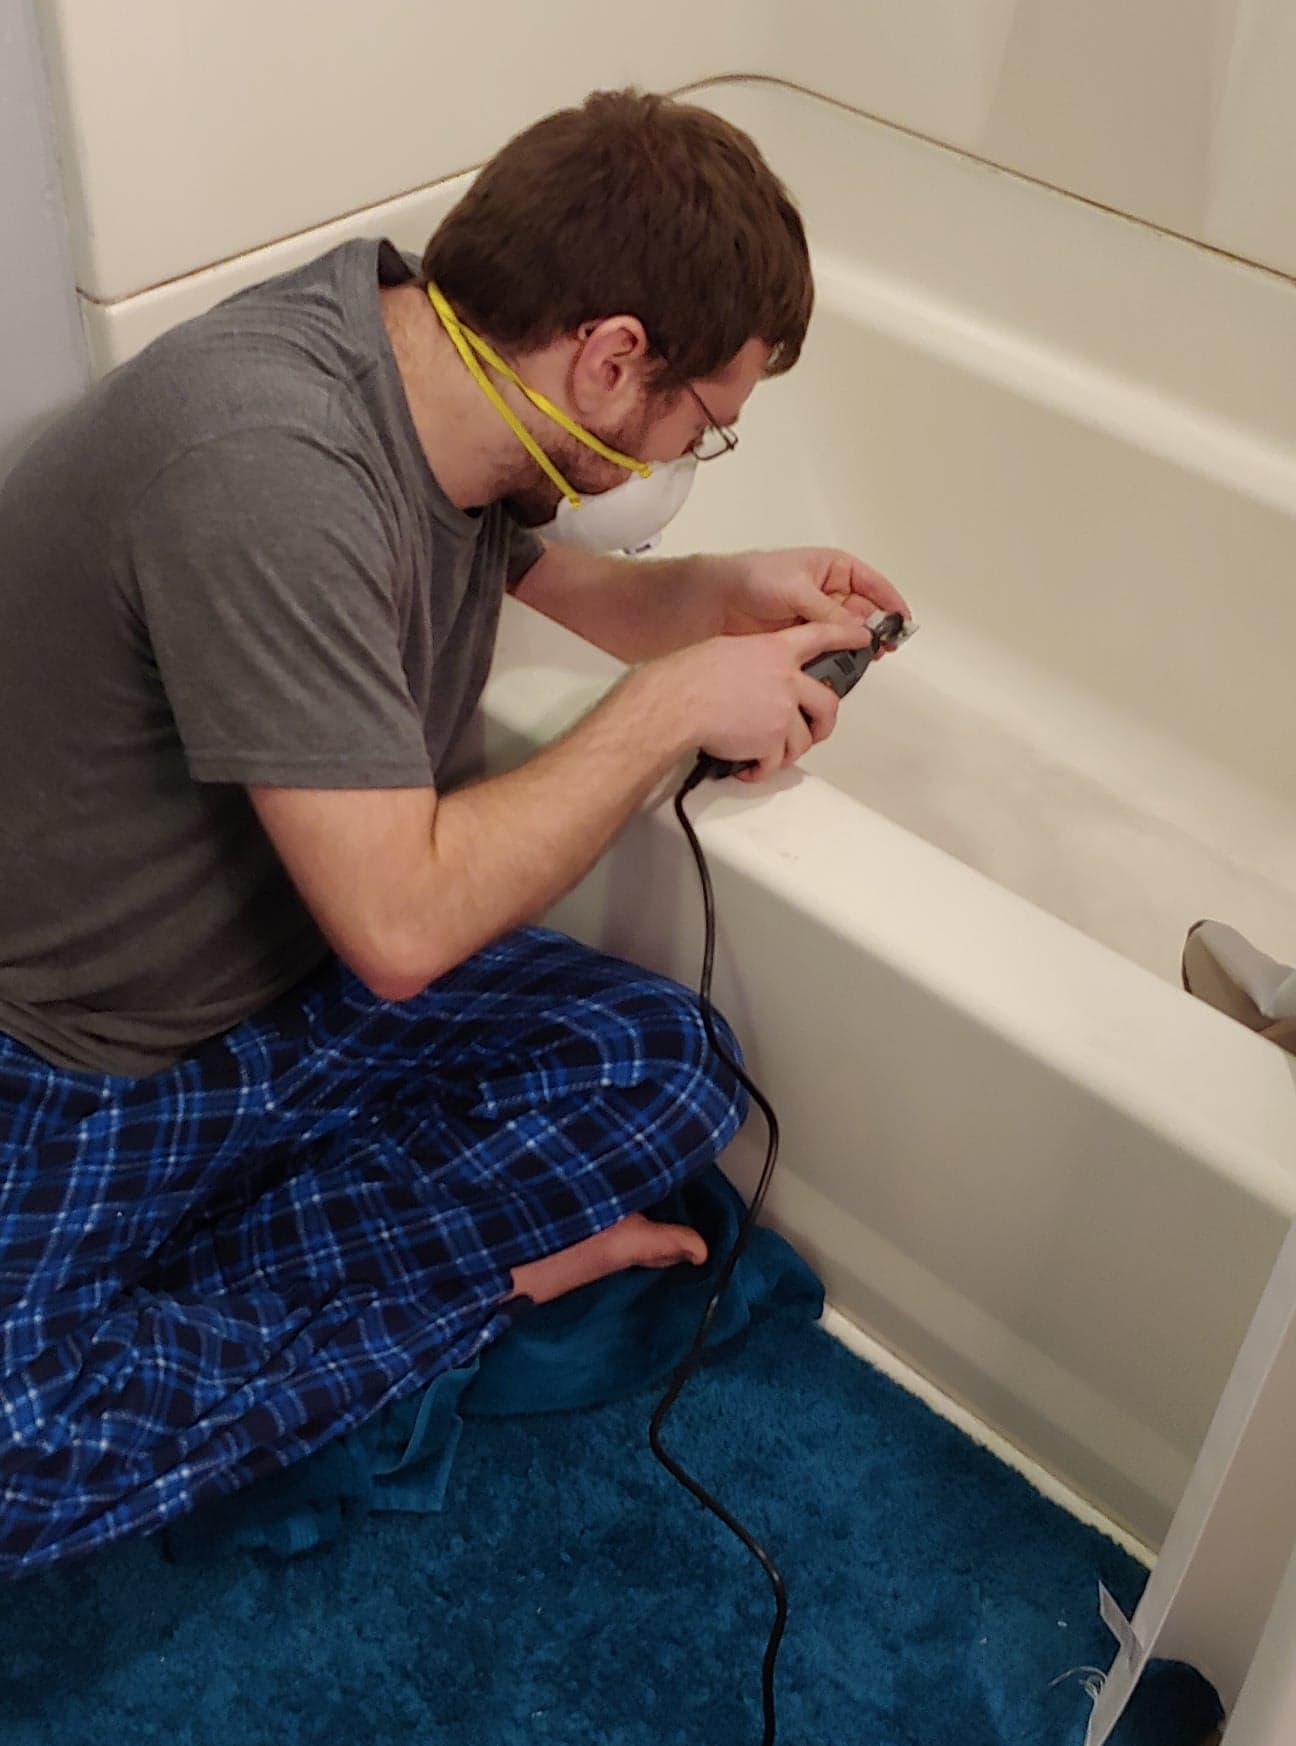
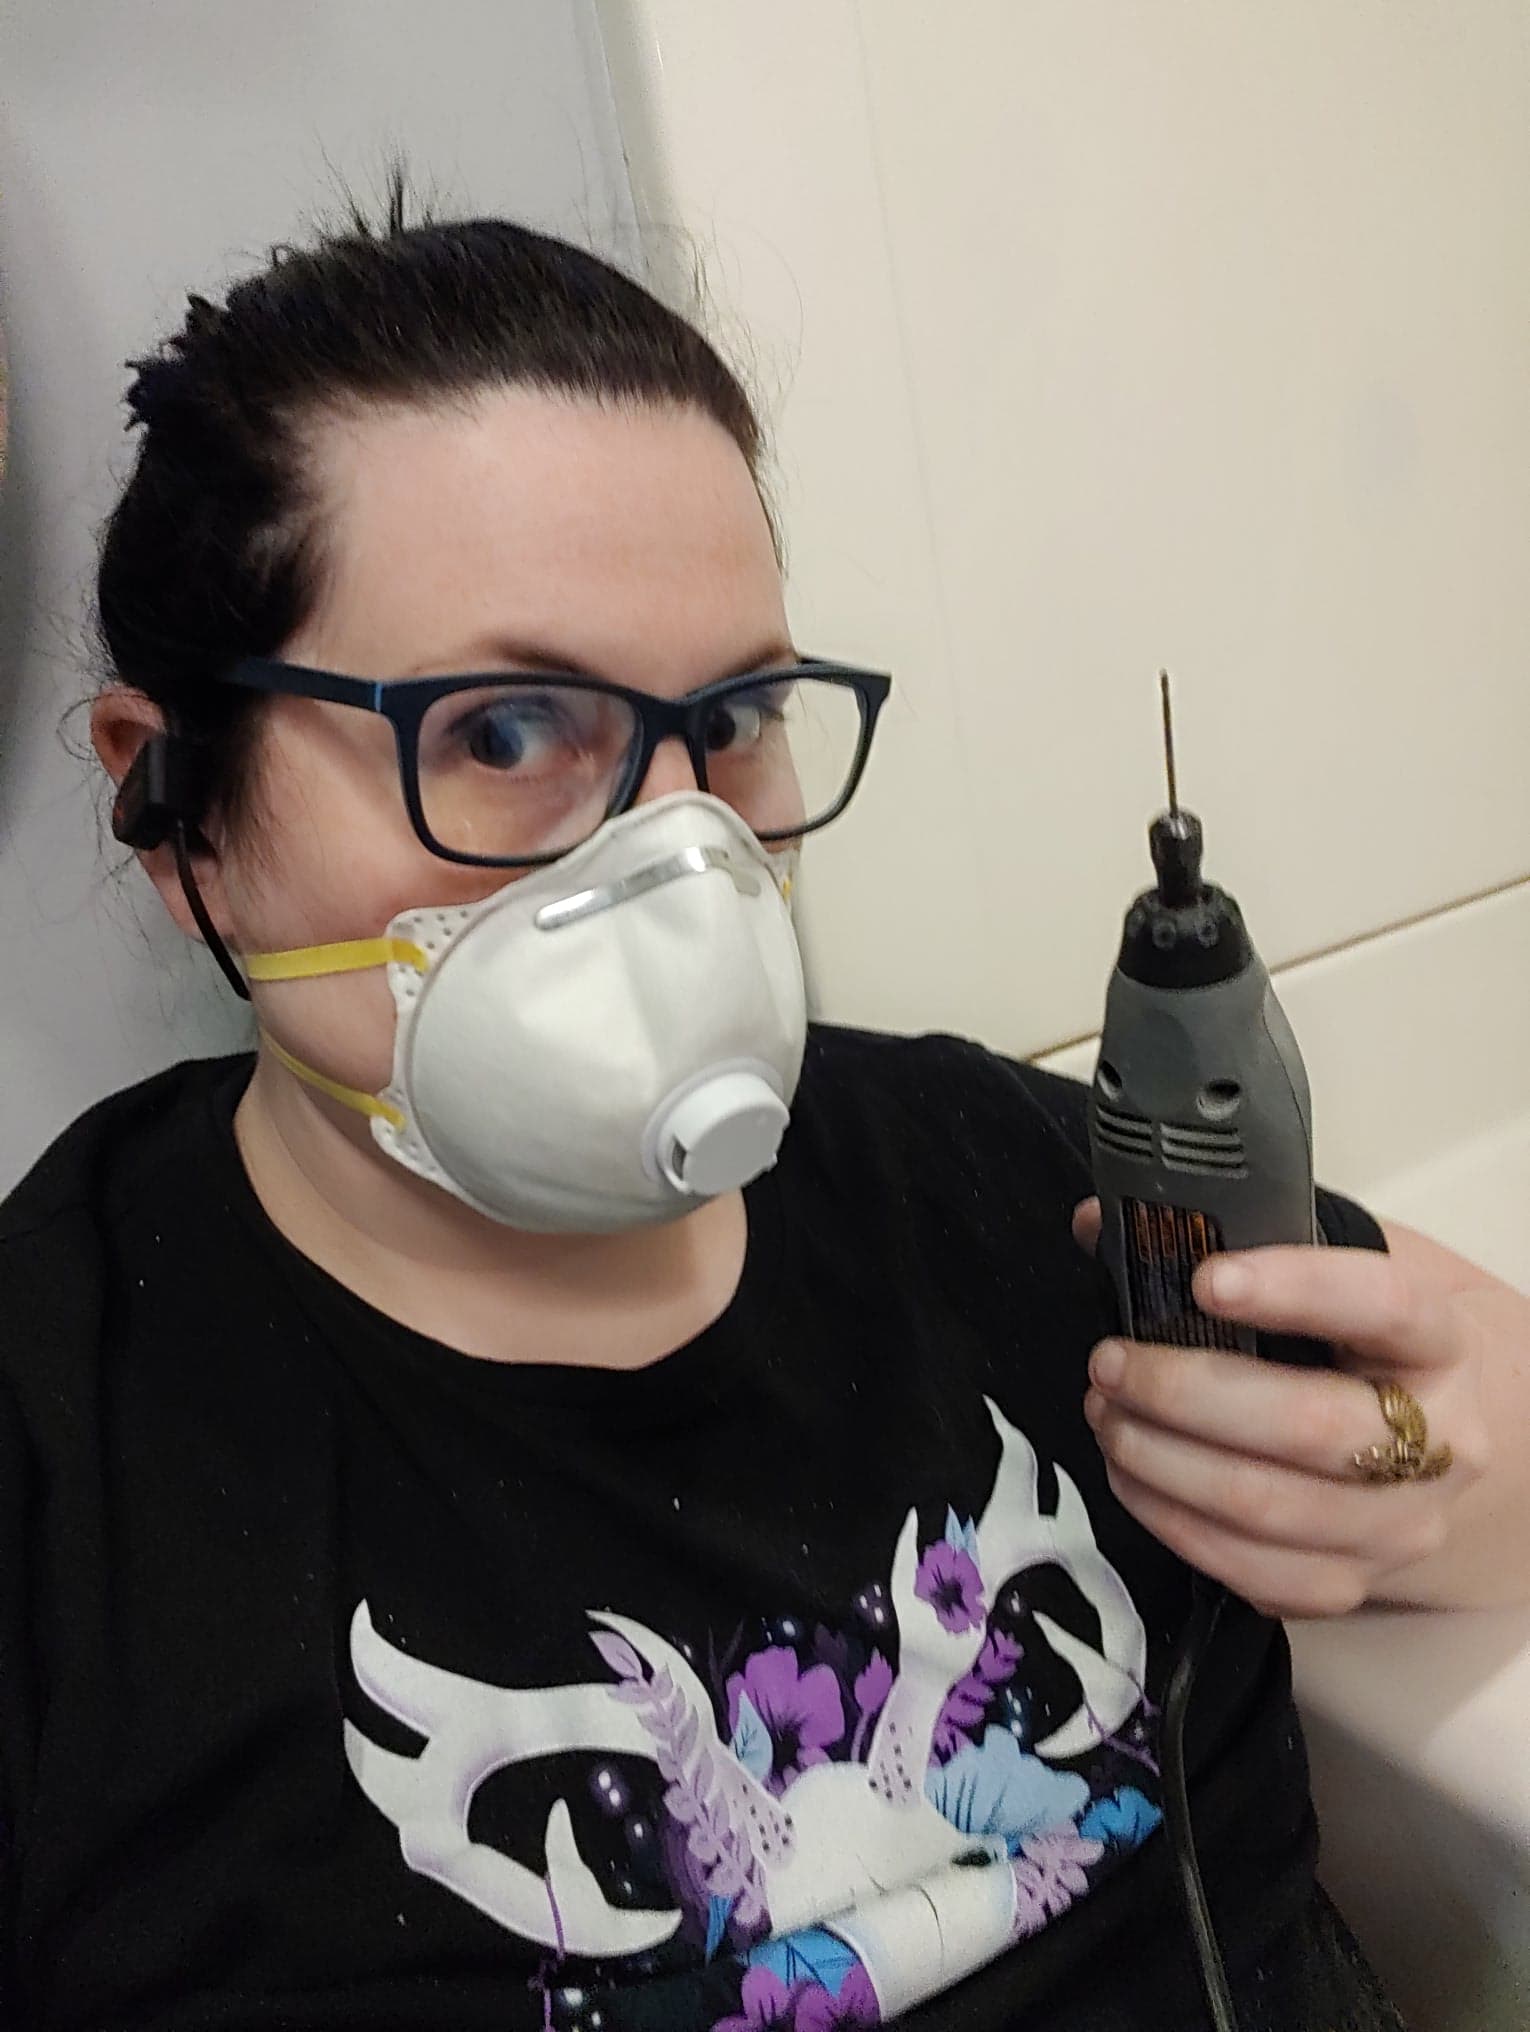
We use only the finest of safety equipment (Said sarcastically)
500 tokens cast!!!!

We still weren’t happy. We wanted these suckers to shine. Our buffing tips were getting eaten up pretty quickly, especially since our dremmel which still had it’s speed control was out of commission. Upon chatting with a sca’dian out on Nevada, it was suggested that a rock tumbler with jewelers shot and detergent would help give us the shiny edge we were looking for.
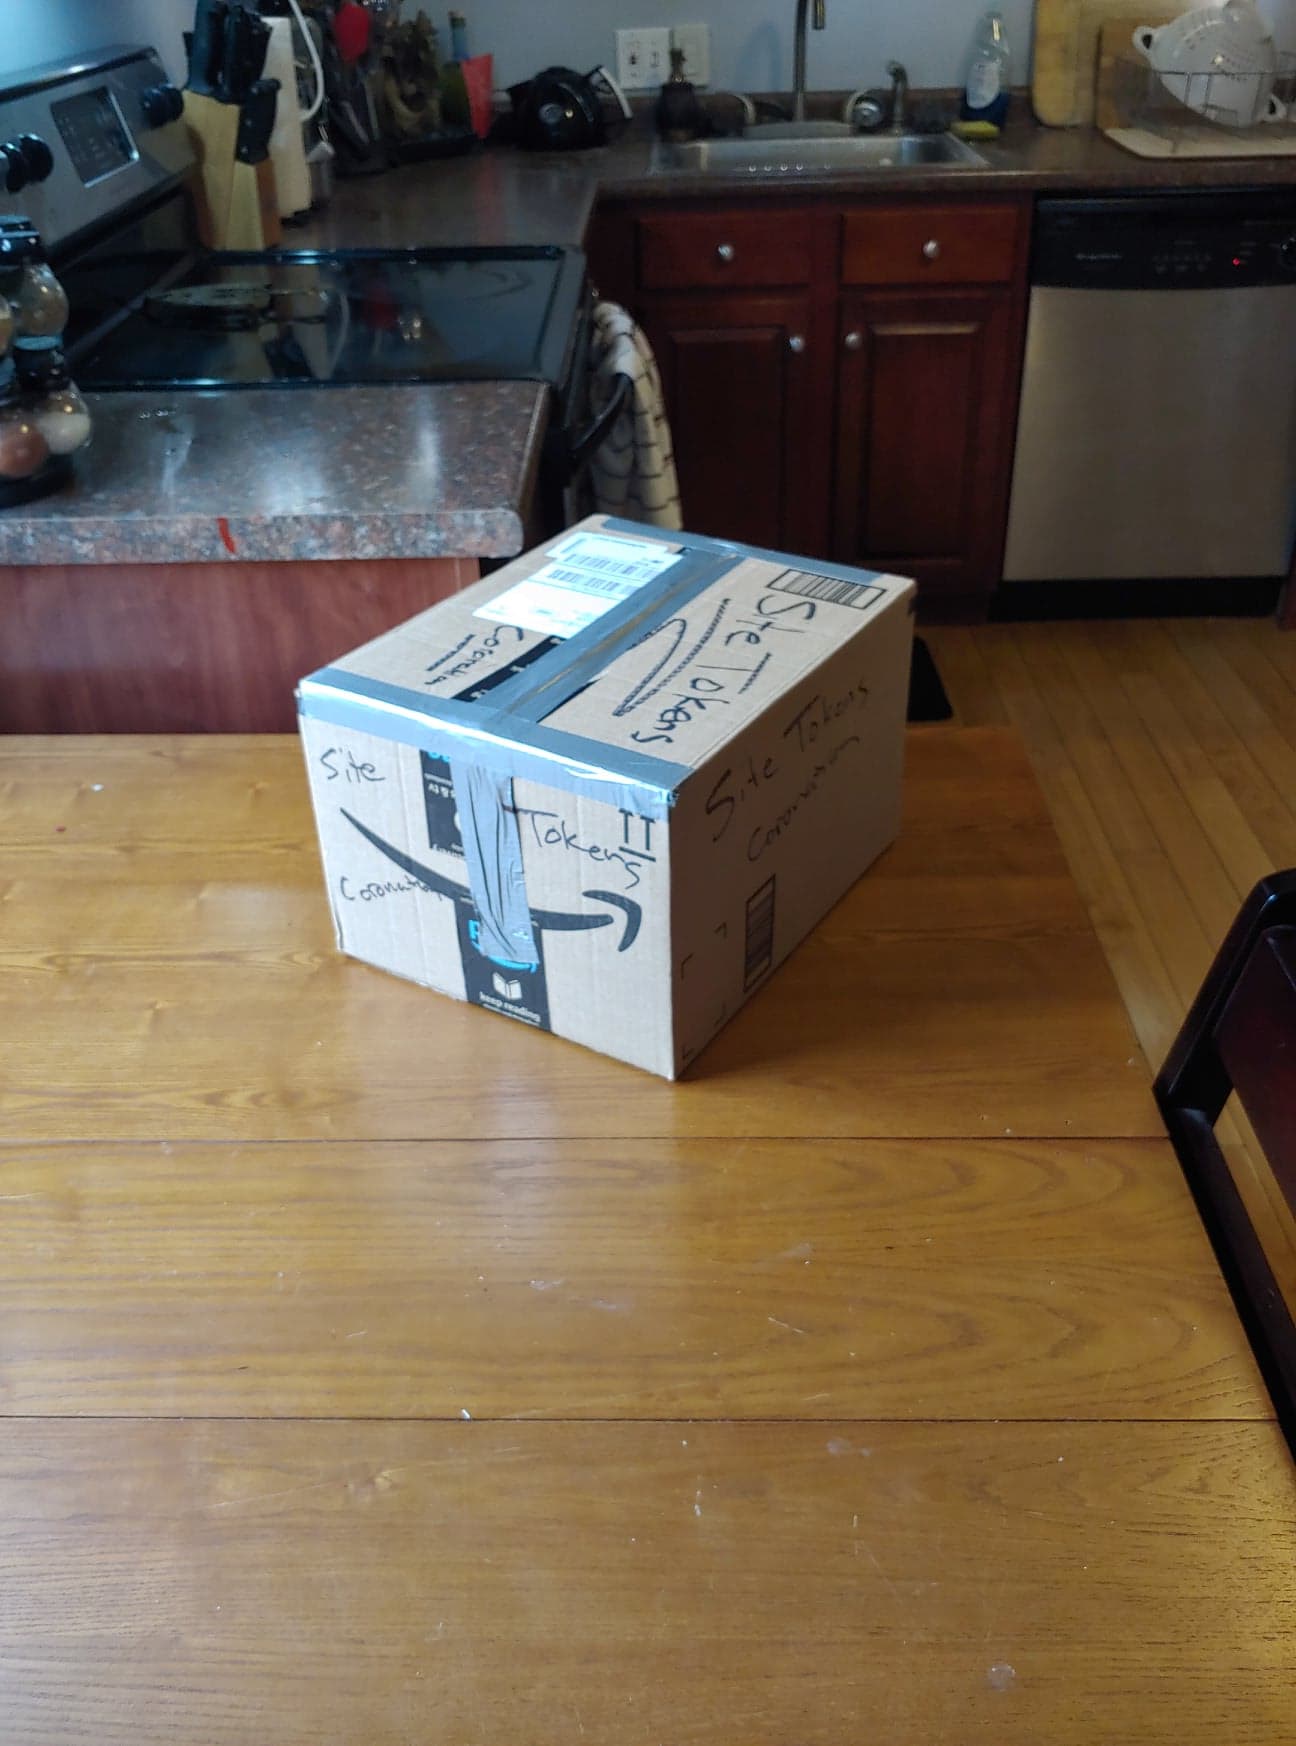
Thank goodness for amazon prime. We had the tumbler Thursday (The tokens were getting shipped out Friday evening). Off we went to pray.
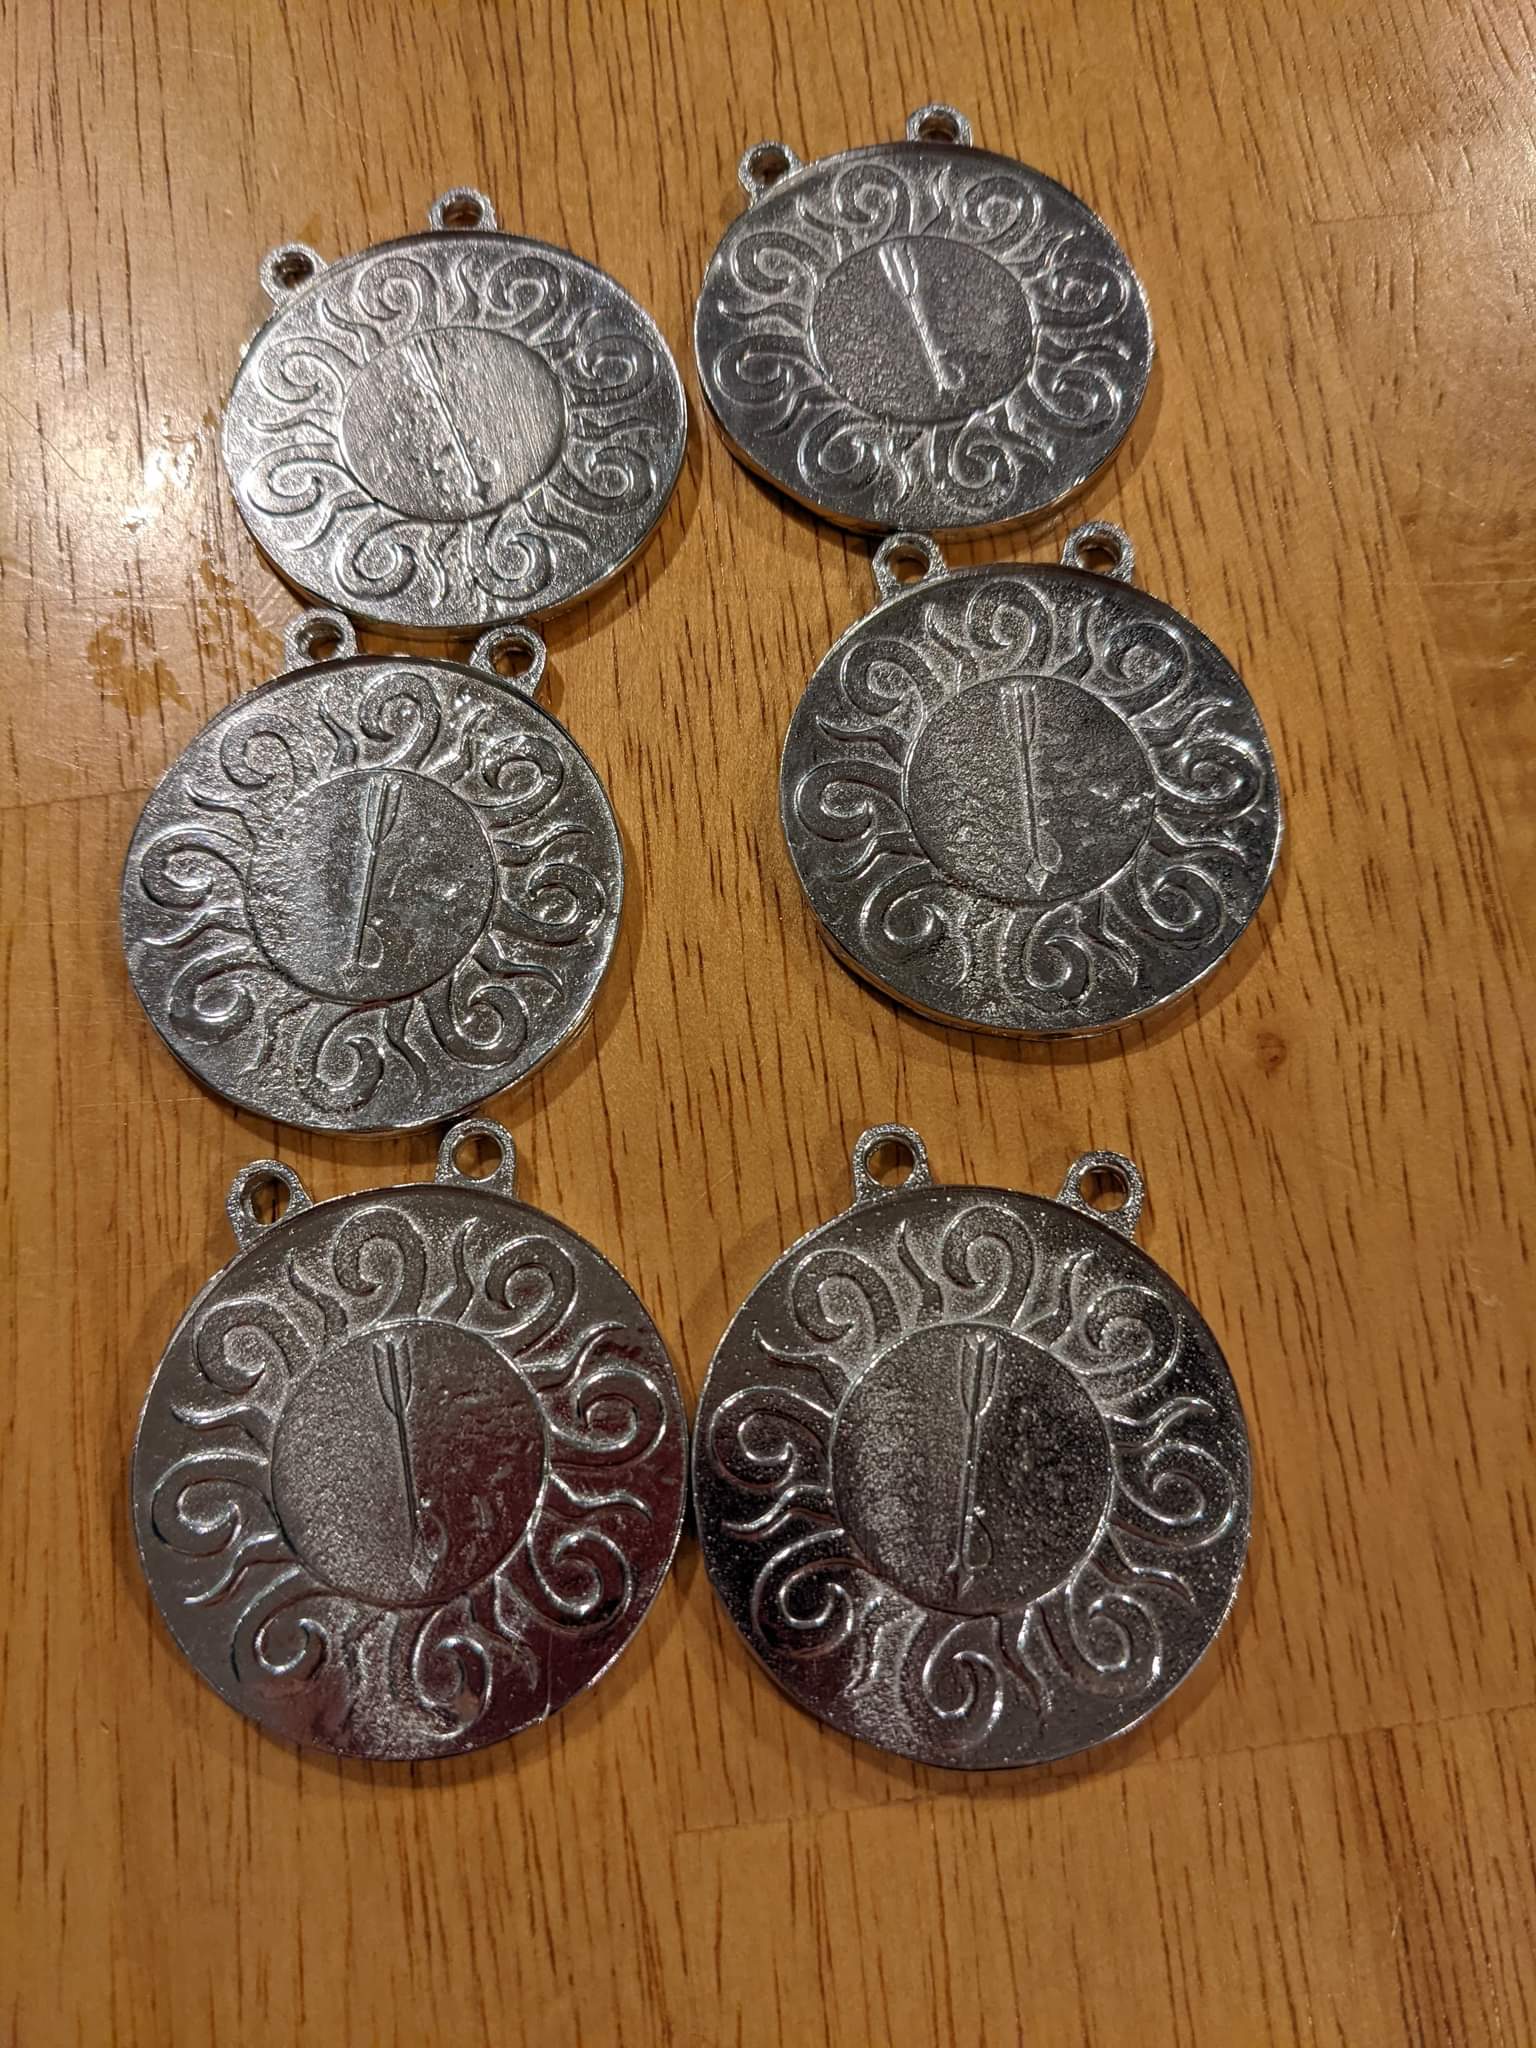
The rock tumbler certainly did the trick. By 5 pm, here is our result:
We aren’t perfect yet in the process, however leaps and bounds have been made.
Aegir and I created these using the same method we have been using before. This was a 3d model followed by sanding and smoothing and then a silicone mold cast…. and a lot of cleaning/polishing. There are 100 completed for now.
Recently, there was a call for need of silver level and specialized awards in the East Kingdom. Her Majesty, Vienna, has put out a request and I felt like I could do something to help. My boyfriend, Aegir, and I love to craft and find new ways of making things. So, I put out the idea to him that we should make, or attempt to make, some of these awards.
Without hesitation, we both began to brainstorm. He asked me what were ways of making awards and what was acceptable. I mentioned that it only needed to look period or possibly resemble a period item. We then looked to our 3-d printer and our silicone mold kits and the lights in our heads went off.
Aegir asked me what the awards were and what they meant. I beamed as I got to explain to him the meaning behind the awards and the intricacies that were our tradition and lineage. I bring up lineage due to the fact that a friend of mine, David Poirier de le Loup, was going to be honored at Crown Tournament. I wanted to make him his Silver Wheel. In addition, a good friend of David’s and mine, Anne de Basillion, had mentioned to me that team “Do all the things” was going to pass down her medallion to David. If she did that, she would be without her regalia. That couldn’t be a thing.
So, we worked to get this amended.

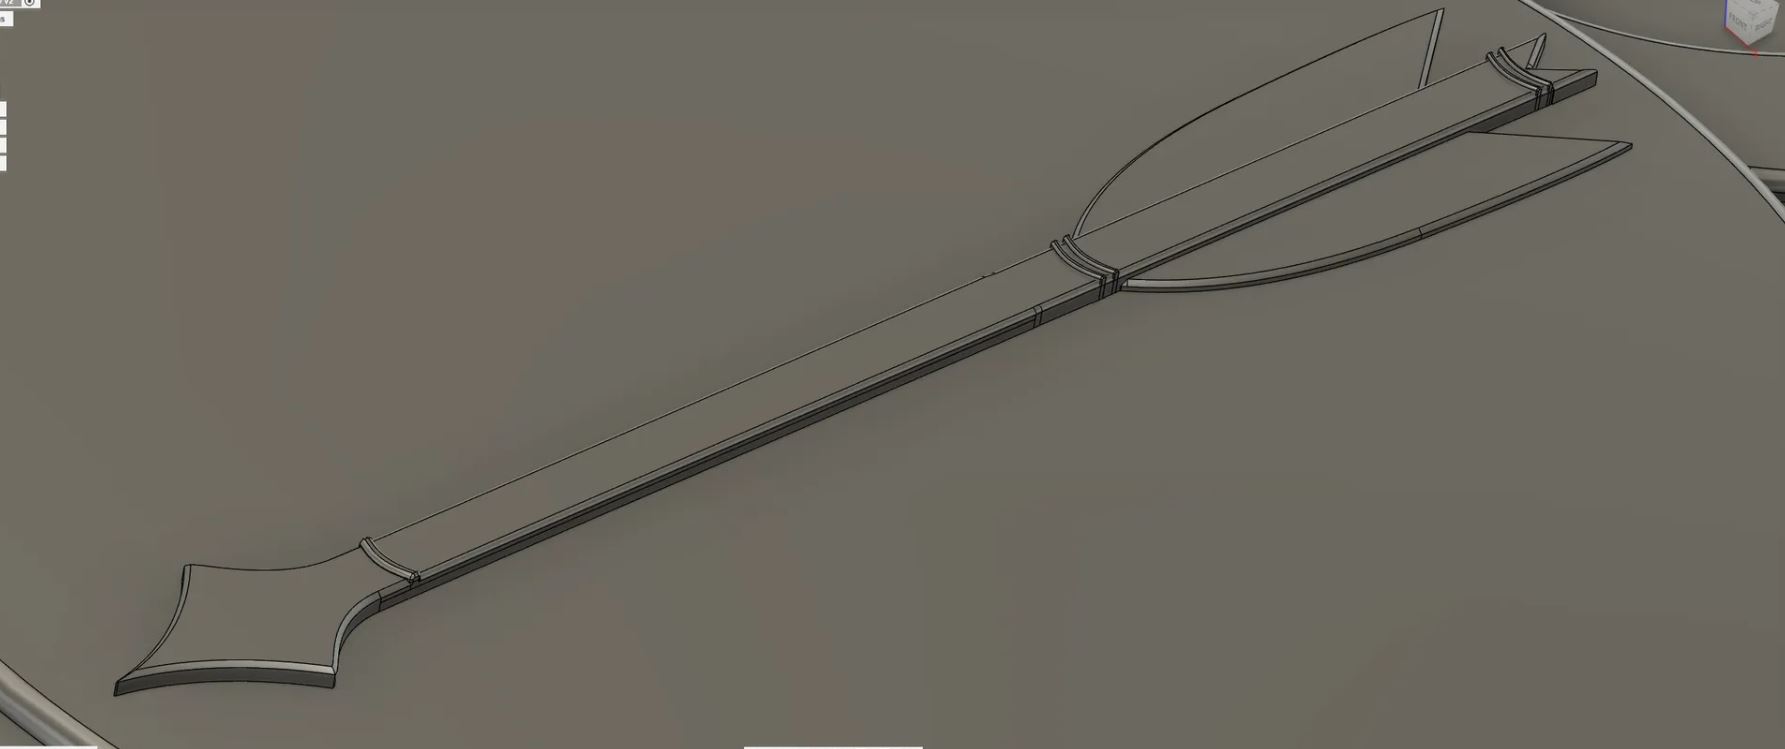
Aegir taught me how to 3-d model while he worked on the designs for other awards. 3-d modeling is not an extremely difficult process for awards, but it was time consuming. I also had picked a more in-depth design to complete instead of the standard silver wheel award. David is part of the Free Company of the Stella Maris, which is a group of Pi-…. Privateers. So, I chose to make it look more steering wheel like. Anne is also a friend of the company so I would make hers to match.
Here begins the process, 3-D Modeling!

This modeling was done in a program called Autodesk Fusion 360.
From there, we exported the models into a program called Simplify 3d. This is where the data from the 3d modeling was sent for sizing and printing to be completed.
Here are a few of the models we completed:
 This is the “Golden Lyre”
 This is the “Silver Wheel”
 This is the “Silver Tyger”
From there, it was mold making time, baby!
We tried a couple different mold processes in the comfort of our own kitchen. Silicone is not the most beautiful fragrance in the world, so I do recommend proper ventilation. Also, marking a proper container to house the mold during it’s 24 hour cure time is key. Chinese food boxes seem to work well for those who are a bit more frugal.
Here you can see Aegir taking one for the team and handling the fumes.

Here you can see Aegir pouring the mold into our handy dandy takeout box.

While we wait for this mold to cure, we were trying a new gravity fed two part mold… we may or may not have used a salt lick? (It’s a Himalayan salt grilling block thing… it was cheaper than stone)

Here is our finished product (with a little bit of sanding/polishing. Flash happens)

